Test mode
Setting up test mode needs to be done by your Development team, which usually happens during your SDK onboarding process. For more information, see the following in the Developer documentation:
- Ensure test mode is set up on production build in the iOS SDK.
- Setup Test Mode in the Android ADK.
- Ensure test mode is set up on production build in React Native.
Testing on a web push app? No need to ask your Development team to set up test mode! For more information, see testing a web push message.
Using test mode
You’ll be able to access test mode on the Confirm page in the Message Builder.

-
At the bottom of the Confirm page, select Test on Device. If you are building push messaging across Android and iOS apps, locate the Creatives row for your message, and then select Test on device.
-
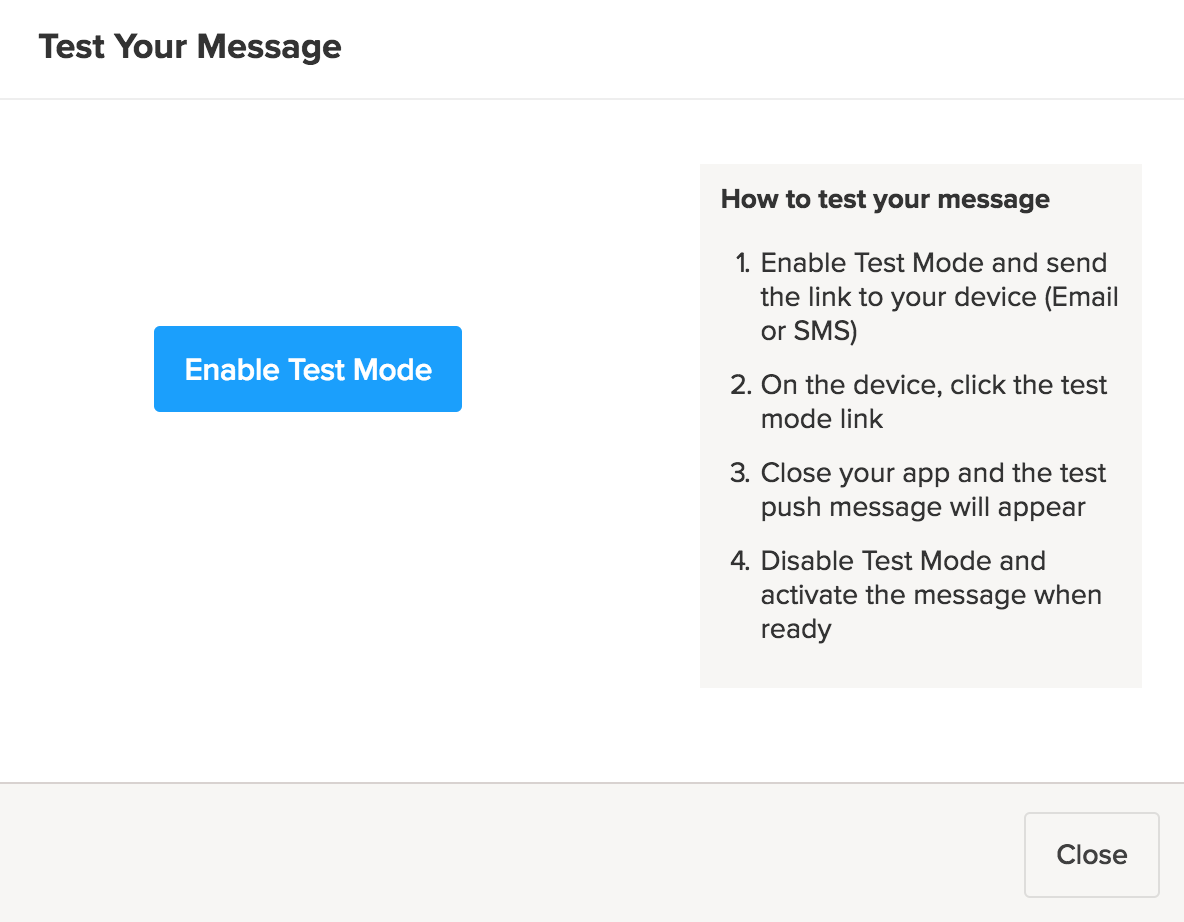
To enable test mode for this message, select Enable Test Mode.
-
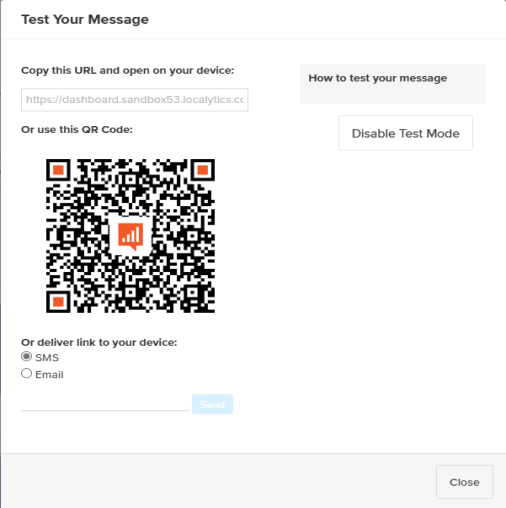
When you enable test mode you’ll have a few options for testing your push message:
-
Copy the URL and open it on your device. This should automatically open your app and display the message you’ve crafted.
-
Use your phone’s camera app to scan the QR code. This will open your app and display the message.
Tip: If you’re having trouble getting the QR code to scan, download the Localytics Message Previewer, which is a QR scanner for iOS only, in the Apple App Store. It’s specifically designed to scan our QR codes and will help in your testing process.
-
- To have Localytics deliver the link to your device via SMS or email, fill in the information to receive the link.
-
When you’re done testing, select Disable Test Mode, and then select Close.
Testing a web push
Testing a web push is a quick and easy way to confirm that your web push looks and acts the way you expect it to.
- If you're using workflows, you can test the web push right by selecting Live Preview in the Message Builder.
-
If you're building a web push campaign, you can test the web push by selecting Preview message on the Confirm page:

If the browser asks for your permission to send push notifications from dashboard.localytics.com, select Allow Notifications.
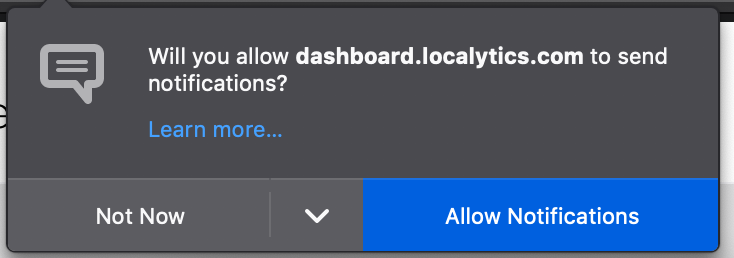
Firefox 68
The browser may require you to reload the page in order to apply the new settings.
Changing test settings manually
If you're not prompted to allow Localytics to send messages, you'll need to change your settings manually.
-
Select the lock icon next the website's URL in your browser. This will open a menu that should allow you to adjust the notification settings for the website:
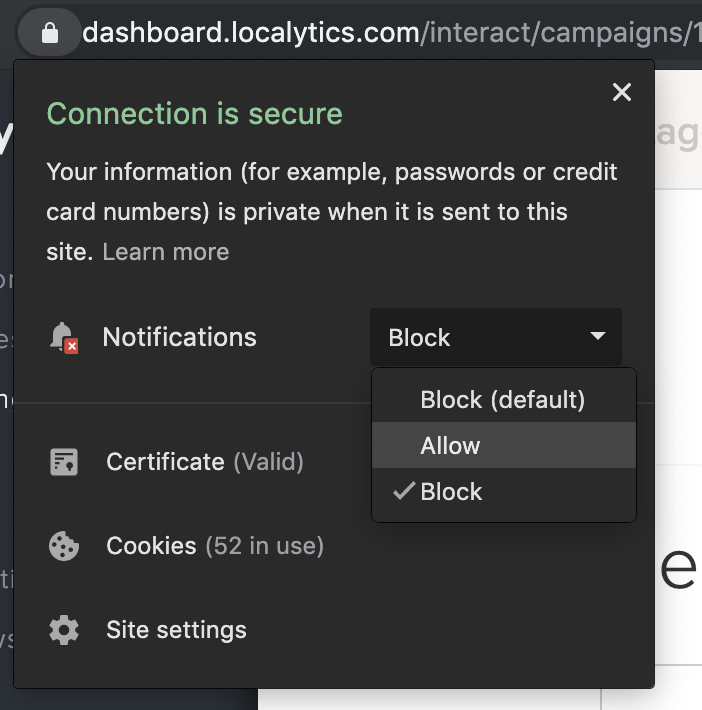
Chrome 76, Mac OS Mojave (dark mode)
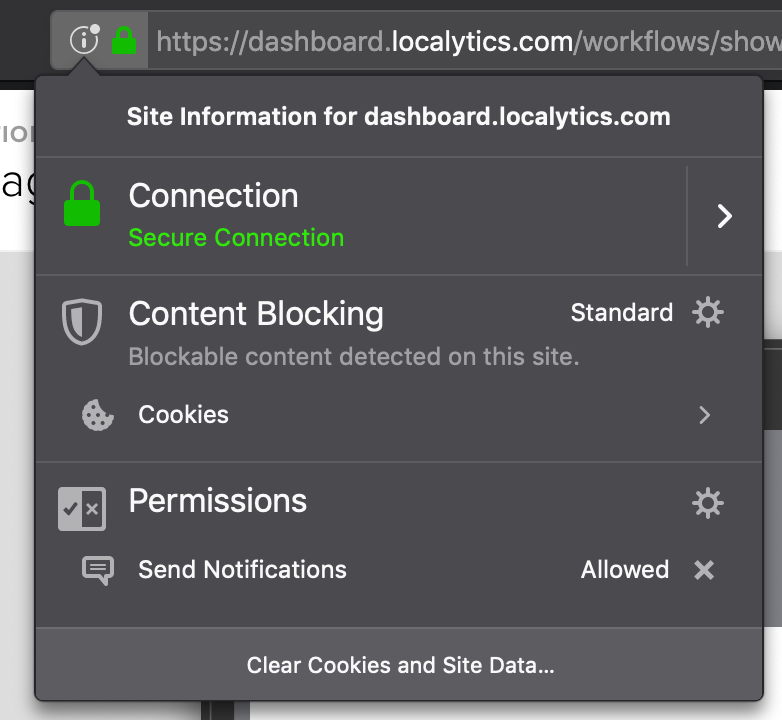
Firefox 68, Mac OS Mojave (dark mode)
- Adjust your settings to allow dashboard.localytics.com to send you push messages. You may need to refresh the page in order for the settings to apply.
-
Once you've granted Localytics the push notifications permissions, select the Preview message button. Your notification should appear almost immediately.
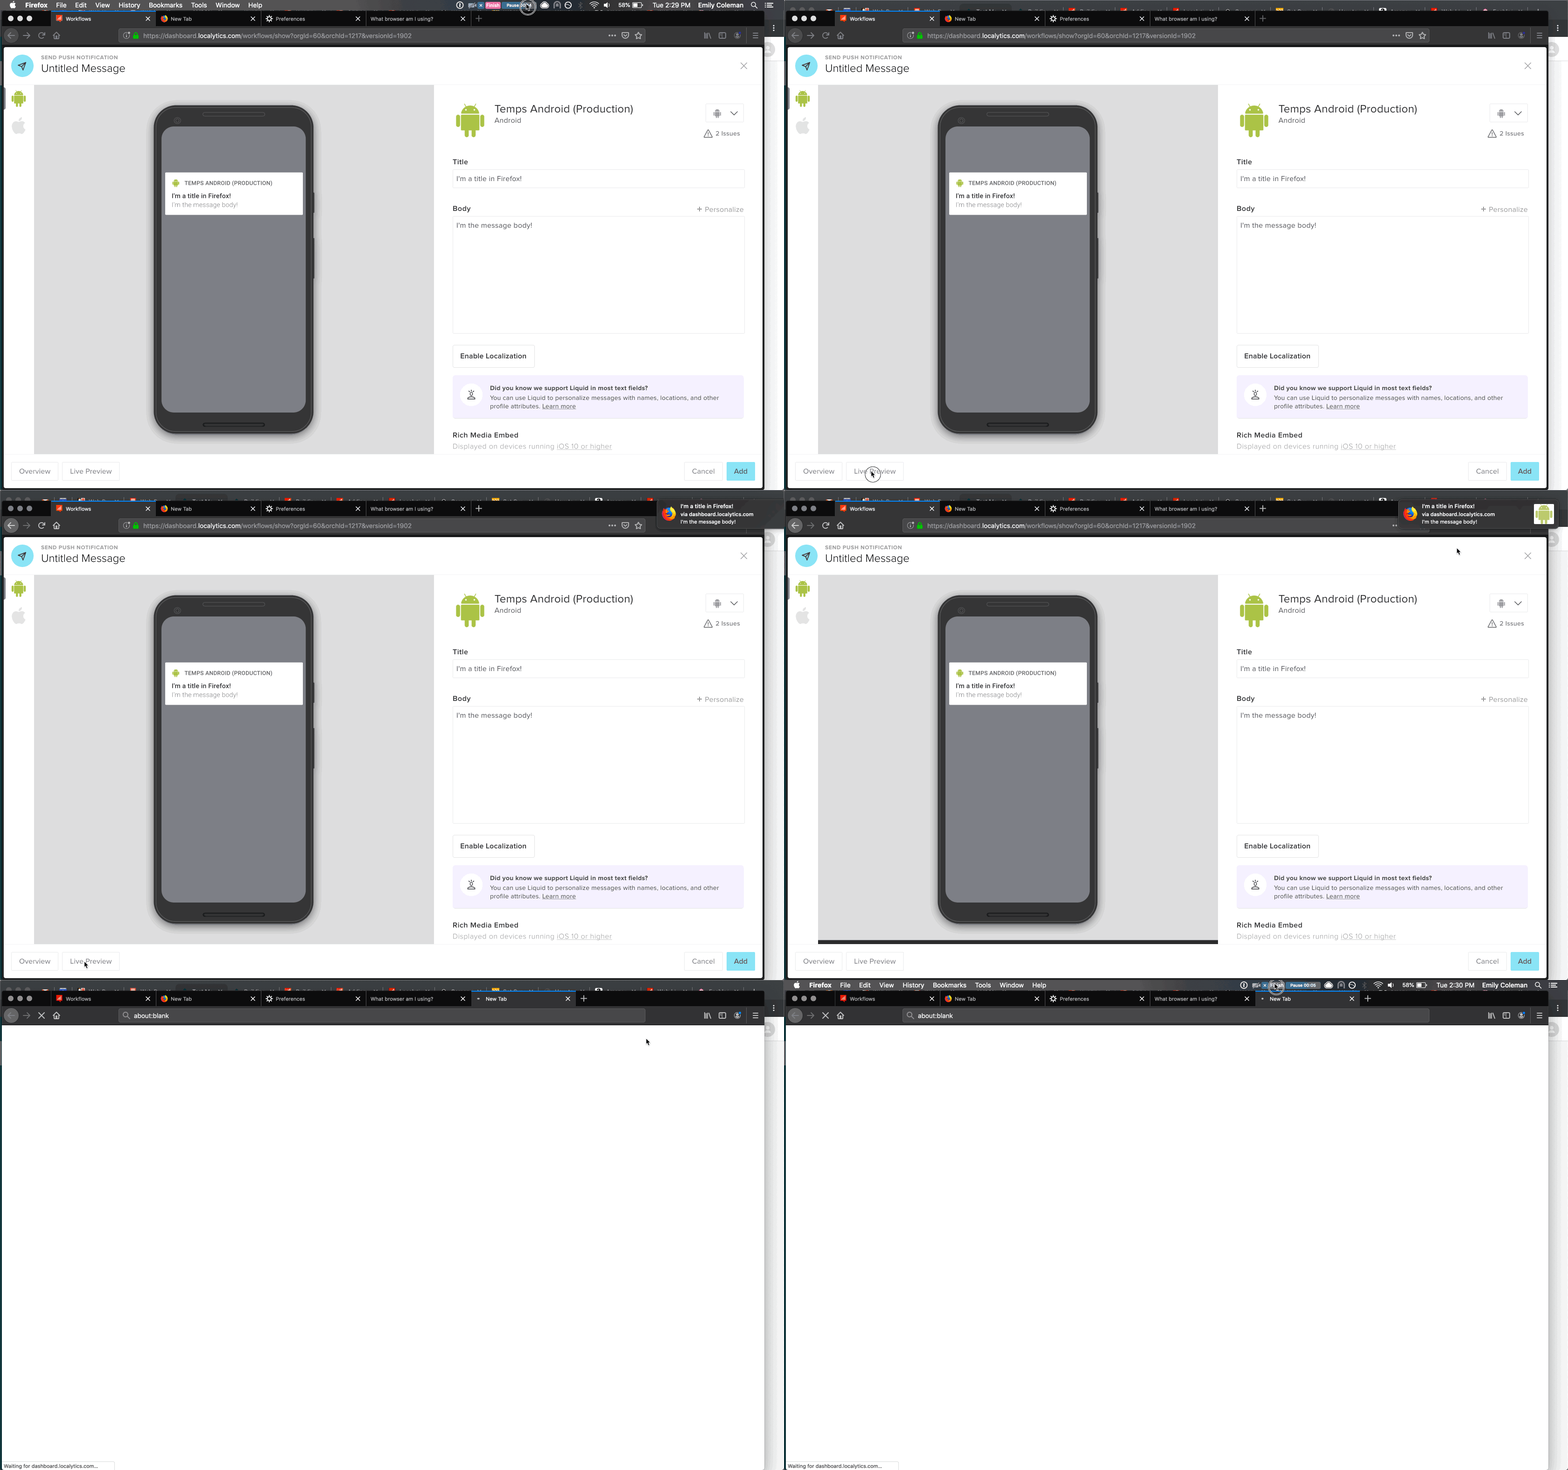
Firefox 68, Mac OS Mojave (dark mode) - notification appears in upper-right corner
For more information on adjusting your web push notification settings per browser, see the following:
- "Turn notifications on or off" in the Google Chrome Help Center.
- "Web Push notifications in Firefox" in Firefox Support.
- "How to Turn On or Off Microsoft Edge Web Notifications for Sites in Windows 10" in Windows 10 Forums.
- "Web preferences" in Opera Help.